

Bookshelf Upcycle
My Mom picked up this boring old bookshelf at a relatives house when she was helping them move. She knew I needed a bookshelf for one of my kid's bedrooms and this one was sturdy and wood, so she figured it would work. And she was right. It worked. It was functionble. It held books and somewhat kept my daughter's little library organized. But it was pretty much as boring as a bookshelf could be! When we moved the girls up to the attic and started the process of turning their old bedrooms into guest rooms, I decided it was the perfect time to take a wee bit of time and attempt to give this super blah bookshelf a little makeover.
.jpg)
I knew I could jazz it up with a couple coats of paint. But I wanted to do a little more than that. I had recently found a bin of fabric and started researching ways I could incorporate some fabric into my bookshelf. I found some posts on Pinterest for fabric backed shelves and decided that that was the route to take. But first, let's get this painting started. For my furniture painting I use a brand called Cottage Paint Serenity. The colour for this particular project is called "Antique White". This paint requires such little prep work and the Serenity line has the finish built into the paint, so you don't need to varnish or wax it afterwards. One thing to note with this paint is that you really have to let it cure for about a month (yes...a month!) before you put anything on it because it will scratch easily and peel off if you don't. I learned that the hard way a couple times. You have to really paint it and forget about it for that month. I gave the shelf a quick wash with warm water and TSP and was ready to paint. I use a trim roller and tray to paint furniture and I have been working on my technique for quite awhile, so can paint a piece pretty quickly. Once I got the first coat on, I let it dry overnight (directions on the can say 2 hours but I was happy for the break and wasn't in a real rush!) The second coat of paint went on easily the next day and it looked awesome. I was kind of tempted to just leave it as is because it freshened it up beautifully.
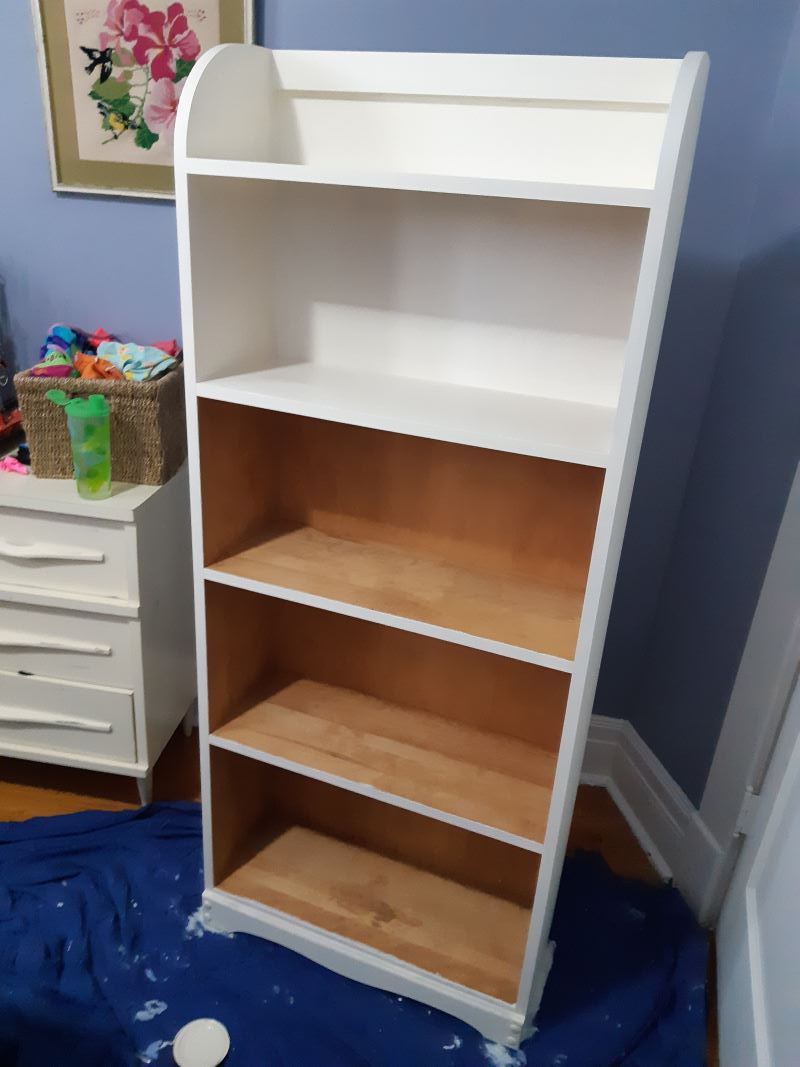
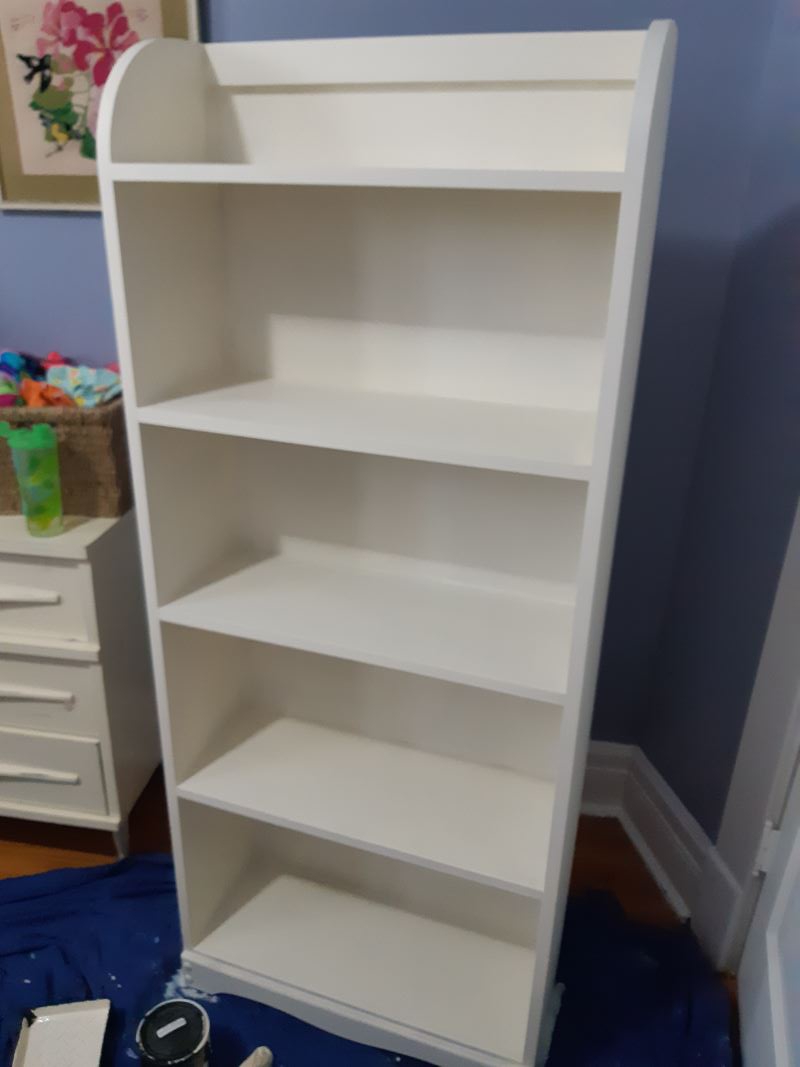
Pictures above: The start of coat number one and then two full coats of paint! It would have been a great makeover with just the paint...but I kept going!
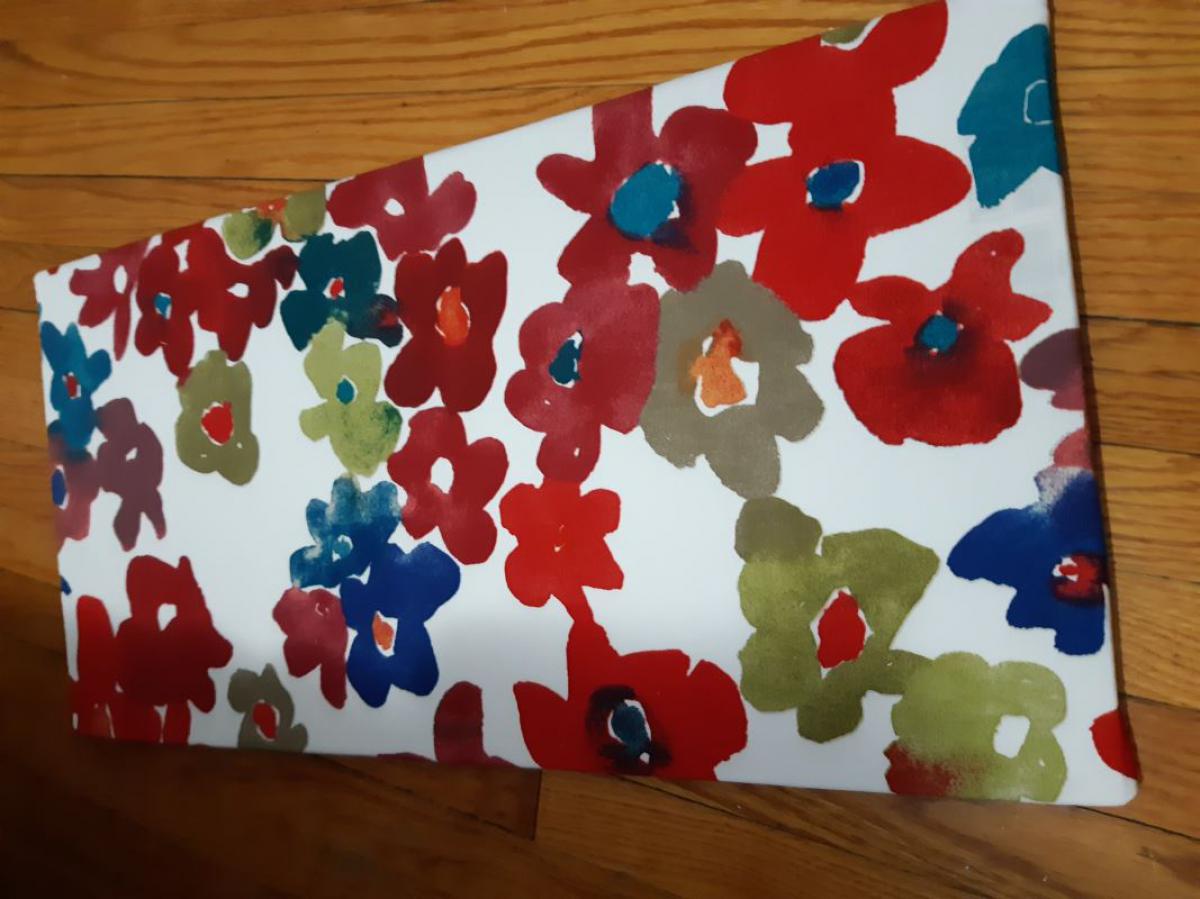
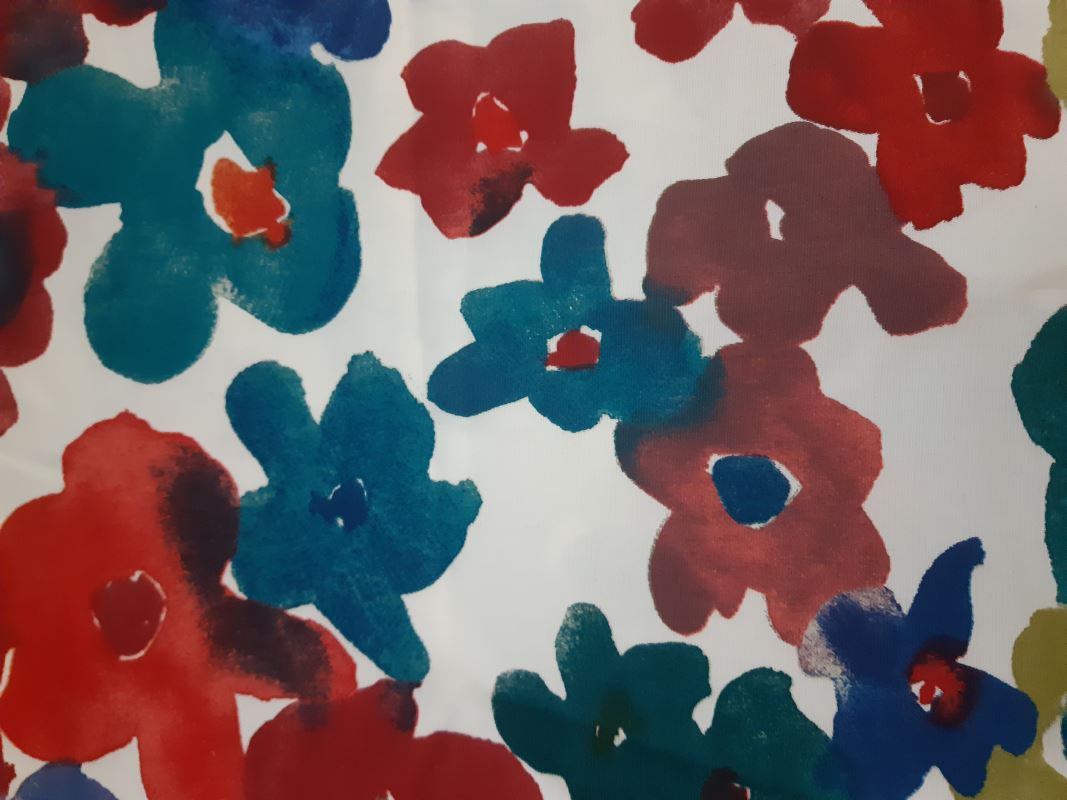
So this beautiful fabric. Ahh the abstract and colourful flowers. It pleased my eye so. I literally only had a little bit of fabric in this print, so I did some quick measuring and saw that it would be exactly enough for this project without an inch to spare. So no forgiveness if I messed up during cutting. So measure twice and cut once, Brooke! There are a couple ways you can attach fabric to the back of a shelf. The easiest way, would be to remove the backing and wrap the whole thing and reattach it. I would have preferred to go that route, but there were a million little staples holding this back piece in. So I had to figure out a way to do each back piece separately. I headed back to Pinterest for some ideas. One post had some foam board from the dollar store, measured and cut to exact size, then each individual board wrapped with the fabric. And then you simply place the board and the tension of it should keep it in place. It sounds easy enough! This part took the longest! The measurements had to be absolutely precise or the board would be too big which would cause it to bubble or the board would be too small which would cause gaps. Let's just say it took a couple times to get all the cuts exactly the sizes they needed to be.
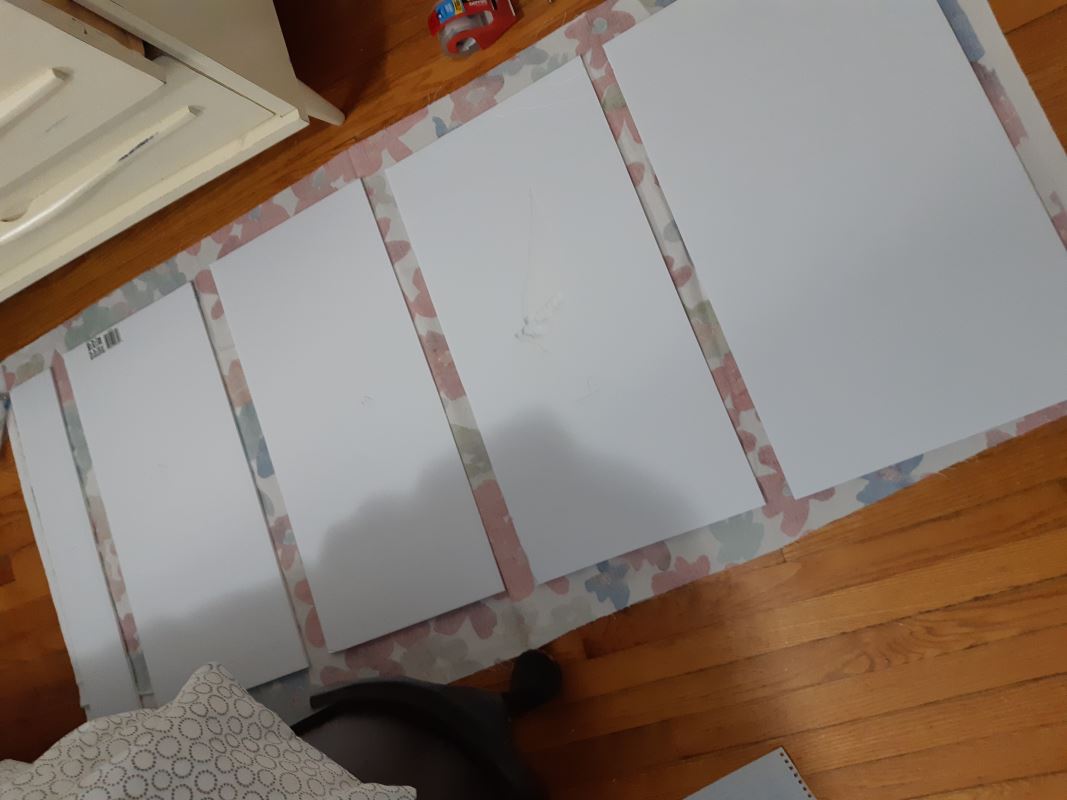
Double checking that I had enough fabric and yikes, I was right, it was going to be very close!
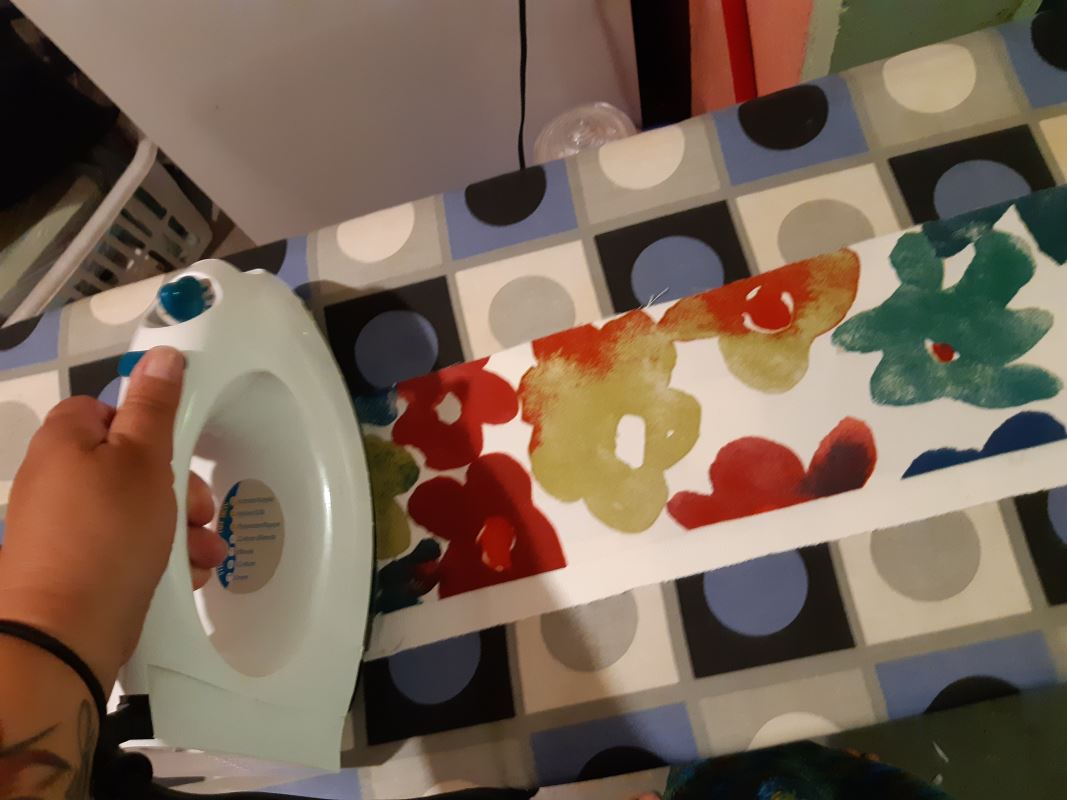
I cut each piece, leaving a couple inches on each side to wrap the boards. There were some wrinkles in it from being folded and in storage, so I had to whip out my ironing board and be domestic for a couple minutes. Once the fabric pieces were ironed, I was ready to wrap! I had each piece of fabric and board numbered because they were all slightly different in size. The blog I was inspired by for this project suggested a Gorilla Glue packing tape, but I didn't have that on hand and just used whatever packing tape I had. I wished I had the Gorilla Glue tape because her process and mine looked a lot different and hers, way easier! My tape didn't stick that great to the fabric, so I had to use a lot of it to get it to work, but I refused to go to the store and had to work with what I had! Board by board, I wrapped each one in their fabric and used a whole lot of packing tape on each one. It sort of reminded me of wrapping presents, the corners were a little tricky but I figured it out.
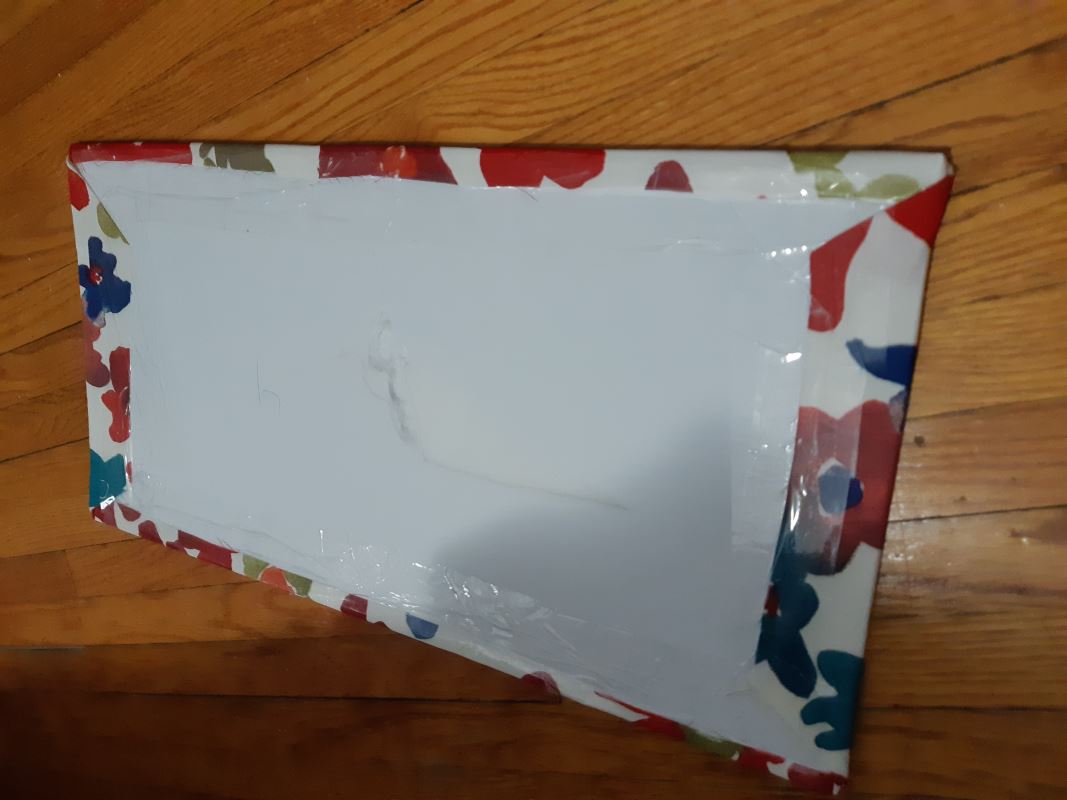

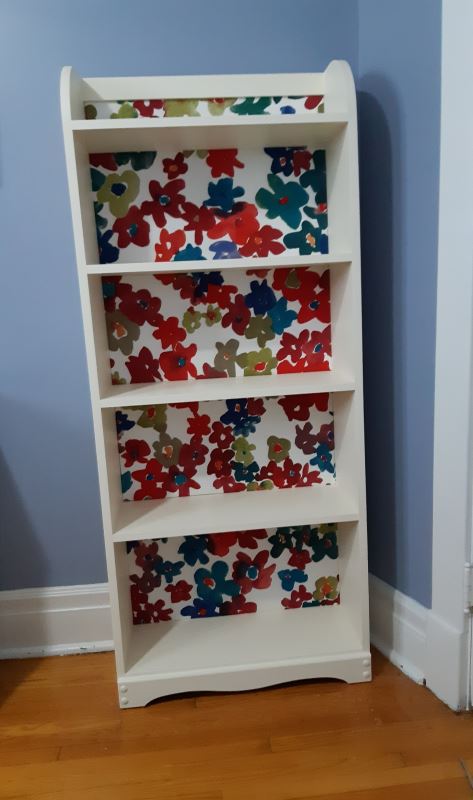
Once all the boards were wrapped, it was as easy as just placing them in. If the sizes were exact, they will fit in perfectly with just enough tension to stay nice and snug. I tested out a couple boards before I continued just in case I had to adjust any measurements, but they fit in just fine. I was happy with that because I was totally ready to put this project to bed! And the end result is awesome! The cool thing is that since the boards are already cut to size, if I decide I want to change out the fabric sometime, I can do it pretty easily.
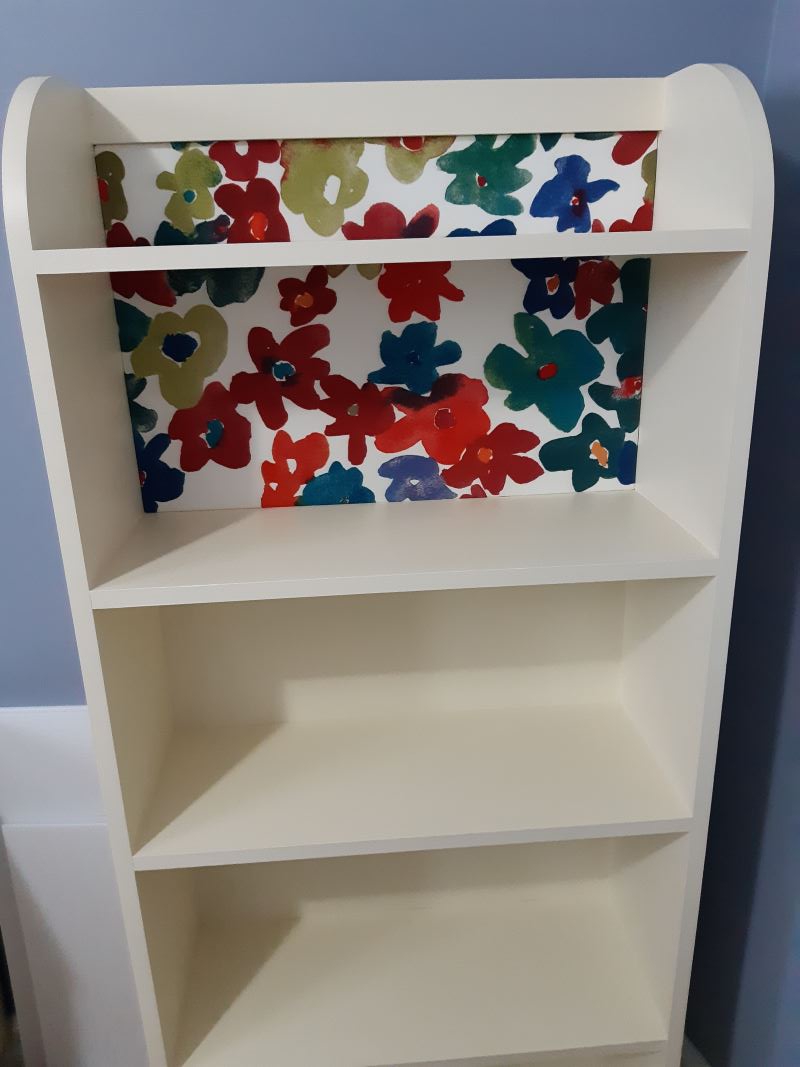
Are you ready for the end result? Pretty cool makeover and just a few hours of work over two days!
I hope you are ready to tackle a little DIY upcycle project yourself with the help of this post. There are no big mistakes you can make in all honesty. Unless you are me. And when you are finally finished wrapping the last board and take a look around for your metal ruler...and discover that you wrapped it into the board. Yep, that was a do-over! Just remember to have fun. And if you have some really awesome results, share your pictures with me!

Brooke

Writing an "About Me" is not easy. How do I pick and choose the pieces of my life that molded me into the person I am or deem the milestones and memories as important enough to tell you about in this little "About Me"...Well, I often joke that I have Read more about me...