

Headboard Throwback DIY
One of my favourite types of stores to lose myself in is a fabric store. I become enchanted with the punchy colours and prints. I envision projects that each pattern would be perfect for. I always head to the clearance section first and sift through the fabrics and never really know what I am looking for until I find it. Did I mention I do not sew?? Since I don't sew, I learned how to upholster. Sort of. I do very basic upholstery, like recovering dining room chairs, benches...the simple wrap and staple type stuff.
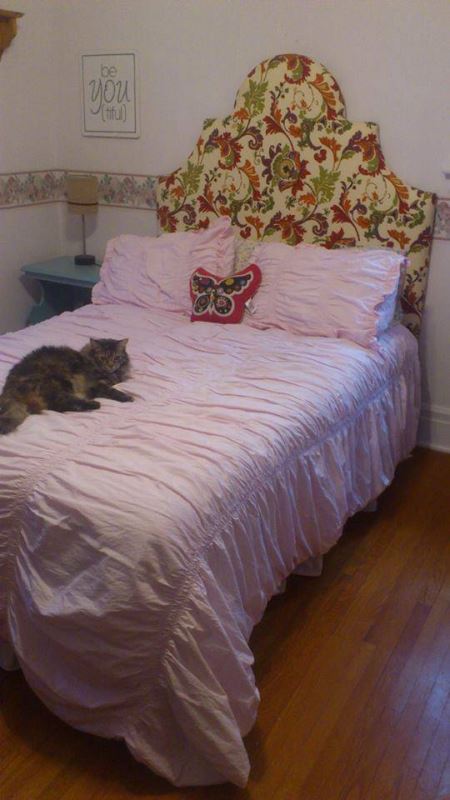
A project I tackled a few years ago, with assistance from my ex-husband, was a Fabric Headboard for my daughter Izzy. I will say that this project was not the reason for the split, however it may have been a small step in that direction!! That is a joke of course....kind of. There were some trying moments during this little project, but I have learned that this is the case with most couples when they work together!?
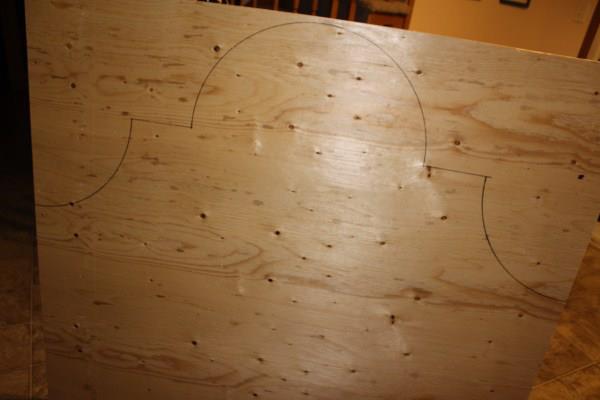
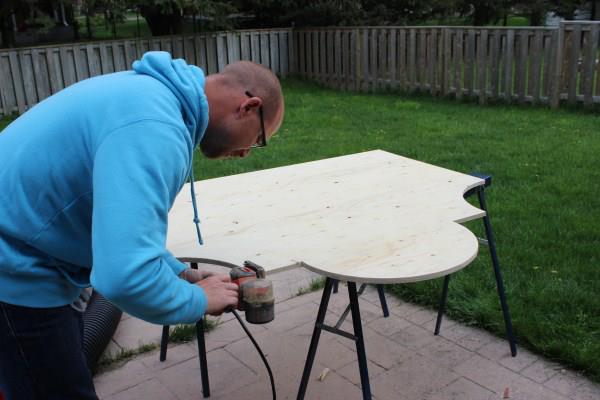
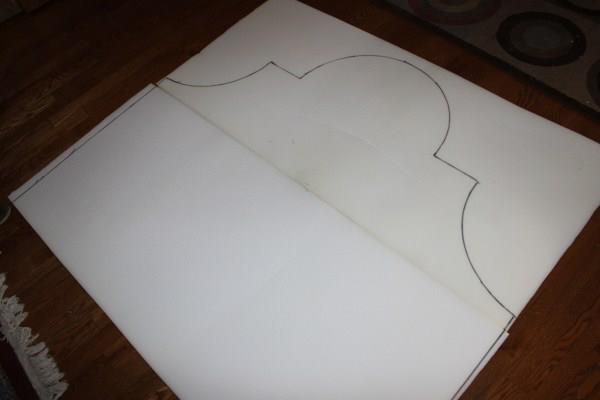
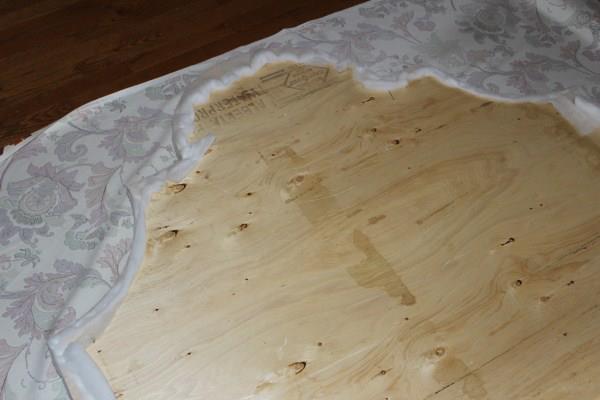
I had seen headboards like the one I wanted being made on Sarah Richardson's show on HGTV and it looked easy enough! I found some inspiration pictures and DIY tutorials on Pinterest. I educated myself to the point of feeling ready to tackle this headboard! The first step was to buy a piece of plywood and draw the design outline on it with a pencil, perfect it and then a sharpie. This was 3/4 inch plywood and to keep the design consistent and symetrical we used a homemade compass get it just right. A jigsaw and a steady hand were both required to cut the shape out and then the rough edges were sanded out.
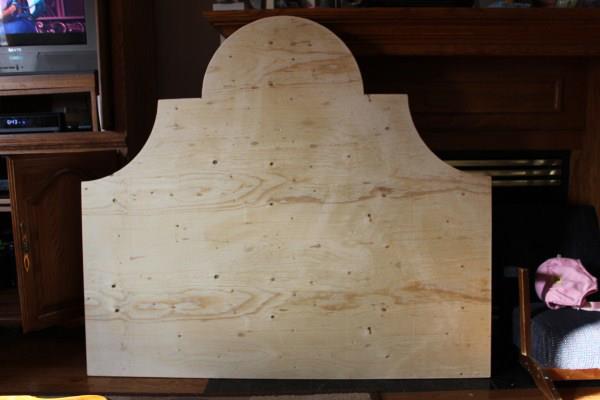
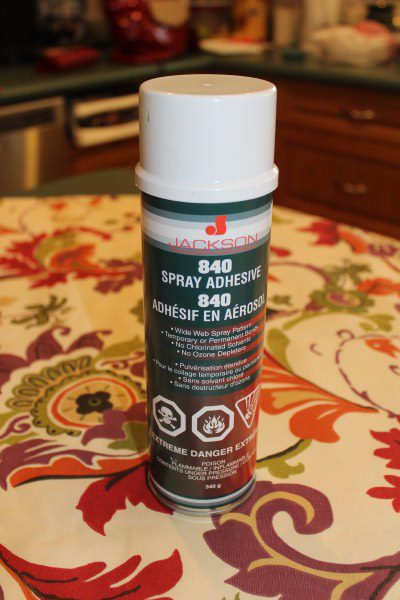
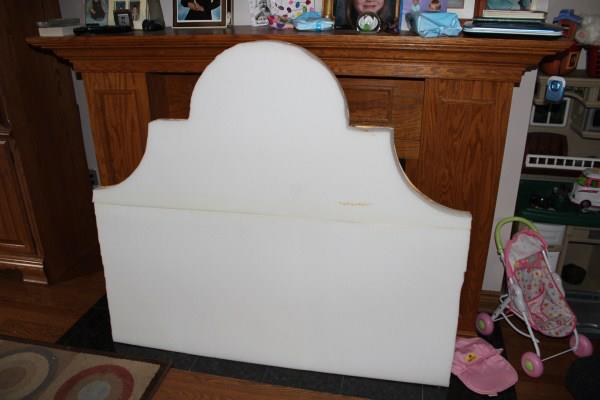
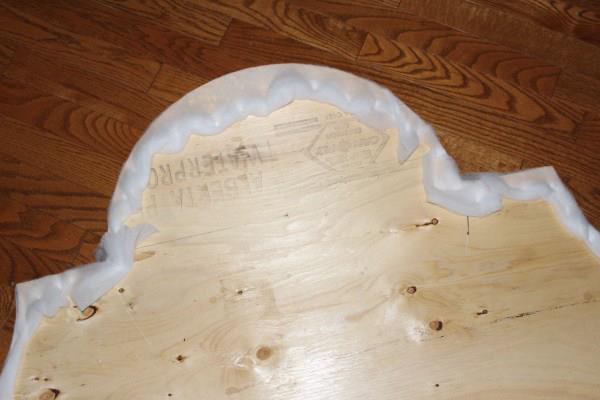
Once the wood base was cut, we cut some foam to place on top of it. Foam is one of those things that is easily found in the USA in any craft store but for some reason in Canada it is so hard to find! And if you do find it, it is expensive! The foam I bought was two inches thick and ended up costing over $60 bucks, so was the most expensive part of the project. I could have gotten the same piece at Walmart in the States for around $20. Let's just say I buy a few rolls of foam to have on hand for projects now whenever I am on a USA shopping road trip and I have some in a closet right now waiting for another headboard project. We traced the shape of the plywood onto the foam and used an exacto knife to cut it out. It ended up being two pieces of foam to make the shape, but to hold it in place we used a fabric adhesive spray to glue it in place. Once the foam was attached to the plywood, we wrapped the whole piece with some batting and stapled it in place.
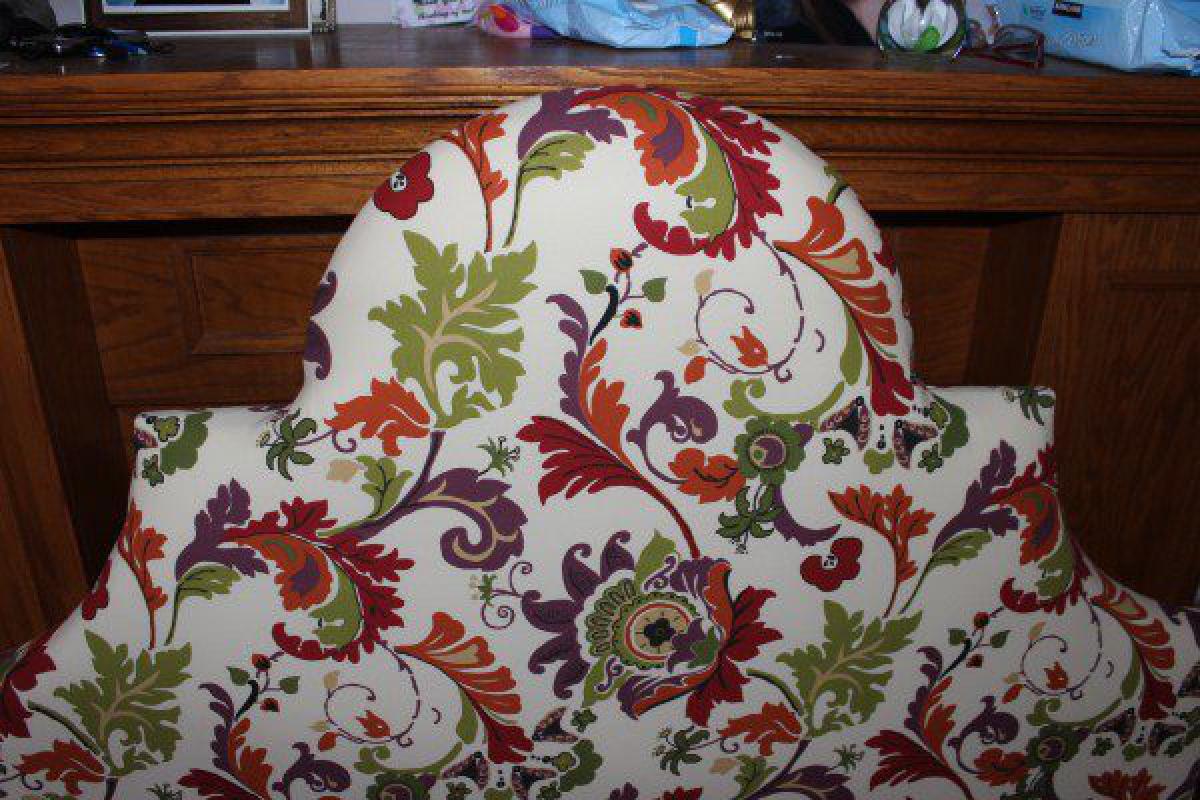
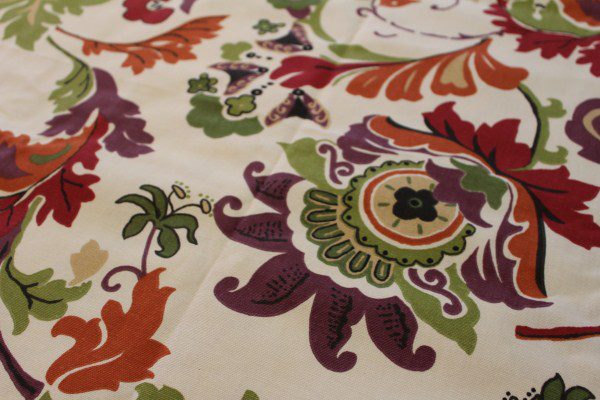
Even though this was a project we tackled years ago, I distinctly remember shopping for the fabric. I remember being not entirely sure of what I was looking for, but that I would know it when I saw it. And when I saw it, not only did I know that it was the perfect pattern, but it was also the perfect price! It was on sale for $7 dollars a metre! I bought the two metres that I would need for only $14! That was a lucky find for sure.The fabric had to be attached in one piece so it would look nice, so messing up on the cutting was not an option! We laid the fabric, pattern side down on the floor, placed the headboard on top and started making the fabric cuts.
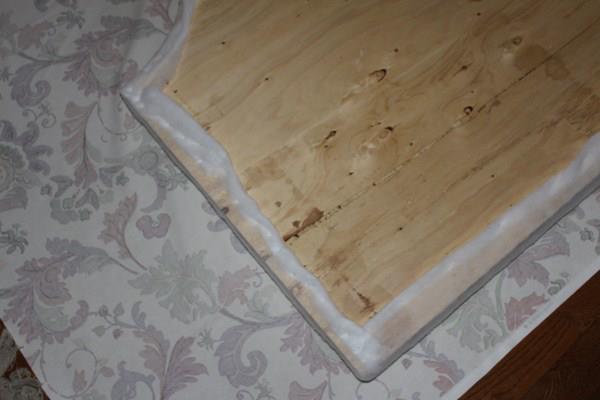
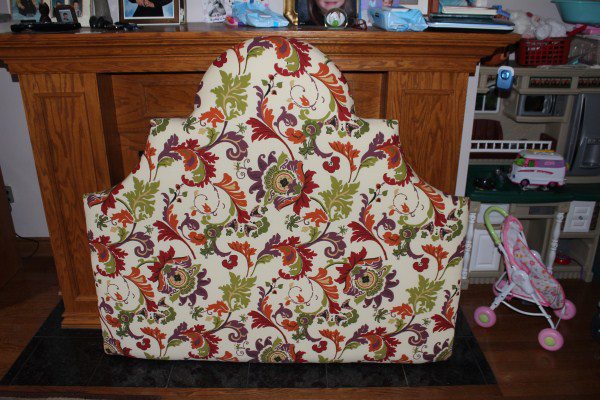
It looks like this is the end stretch doesn't it. Well it is. But stapling the fabric around those curved edges was most definitely not easy! You really need to wrap the fabric as tight as you can so it doesn't wrinkle on the front, but if you wrap it and staple it too tight, it will rip. Finding that happy medium takes some practise, patience and a few mutterings of the word 'fuck'. A simpler pattern without rounded edges would be a good idea for your first crack at a project like this and you can look at lots of ideas for headboard shapes on Pinterest. But we got it and truth be told, I do love the whimsical shape we chose! The end result turned out amazing. This blog post gave me a little refresher on the steps needed to make another one because I want to make one for my bedroom! I hope it gives you some direction on tackling a project like this yourself.

Brooke
Writing an "About Me" is not easy. How do I pick and choose the pieces of my life that molded me into the person I am or deem the milestones and memories as important enough to tell you about in this little "About Me"...Well, I often joke that I have Read more about me...