

It Has Gotten Much Better-Bathroom Reveal
You may recall a blog post...from a few MONTHS ago...about my main bathroom renovation. This was supposed to be a three week job and well, it's June and the paint still smells pretty fresh and new because it was literally just painted a couple weeks ago. This renovation taught me the kind of patience I didn't know I had. And I can write about it fairly candidly now because, well, it's almost all over. Almost. Not quite, but definitely done enough to share with you the end result with a few pictures!
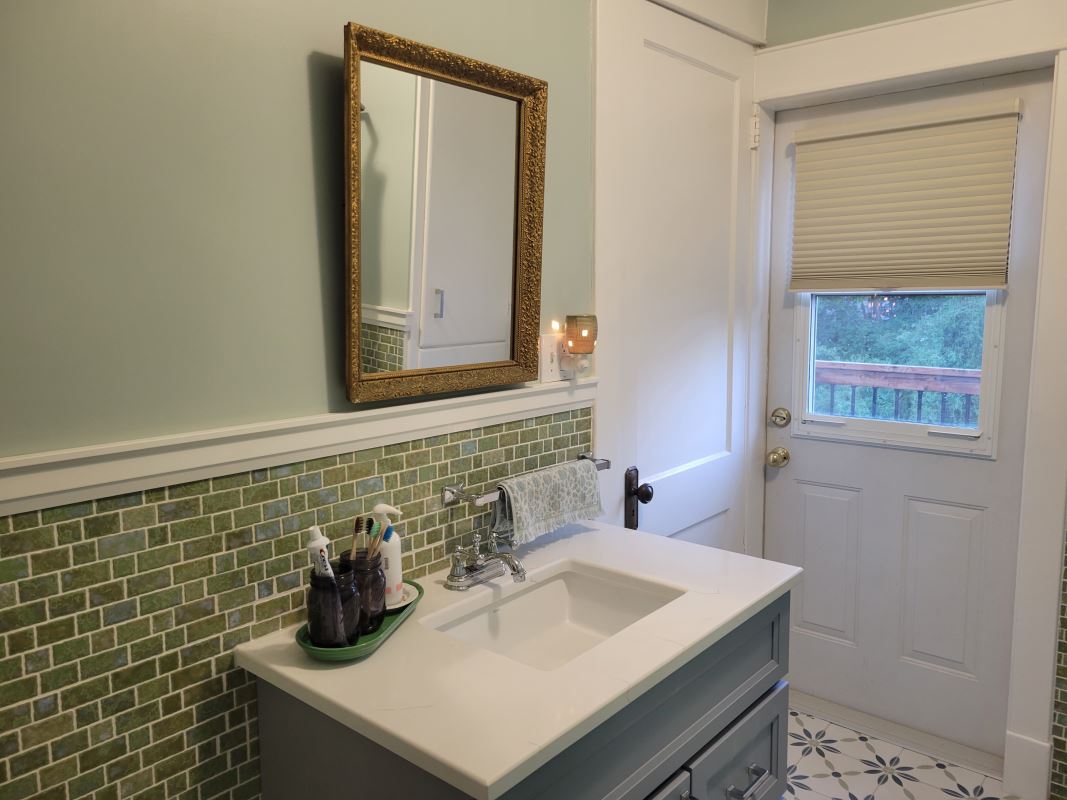
The jumping off point for my design concept of this bathroom was my retro green wall tiles. I touched on this in the previous blog post, so no real need to get into it again! But every product choice made went back to that wall tile and I would ask myself if the selection I was making would work with it. The easiest choice for the floor tile would have been something super neutral, but hey, if you have been following any of my design style, you will already know that neutral is not my thing! You also got a little sneak peek at the tile flooring that I did choose in the last post as well and can I just say, how much I love it together? The tile master that installed the flooring did an absolutely impeccable job and I couldn't be happier with the way the walls and floors came together. (McClement & Shewfelt Construction)
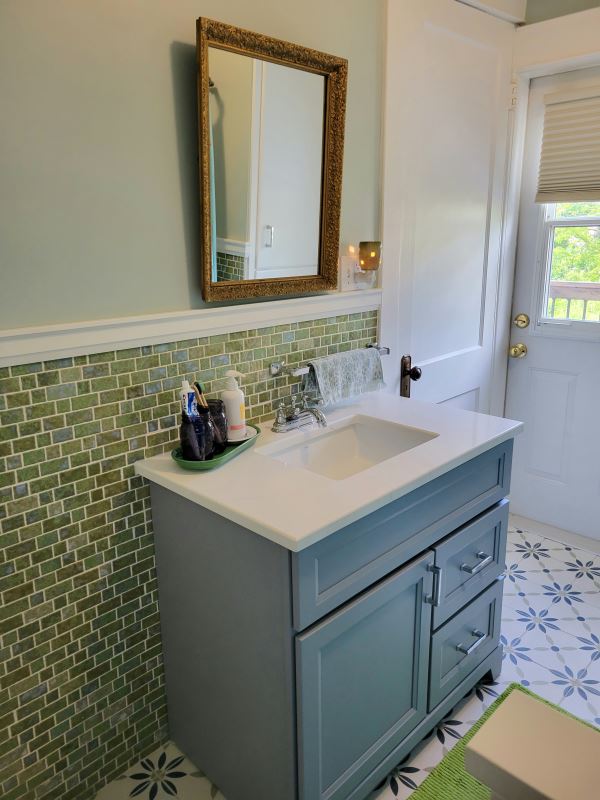
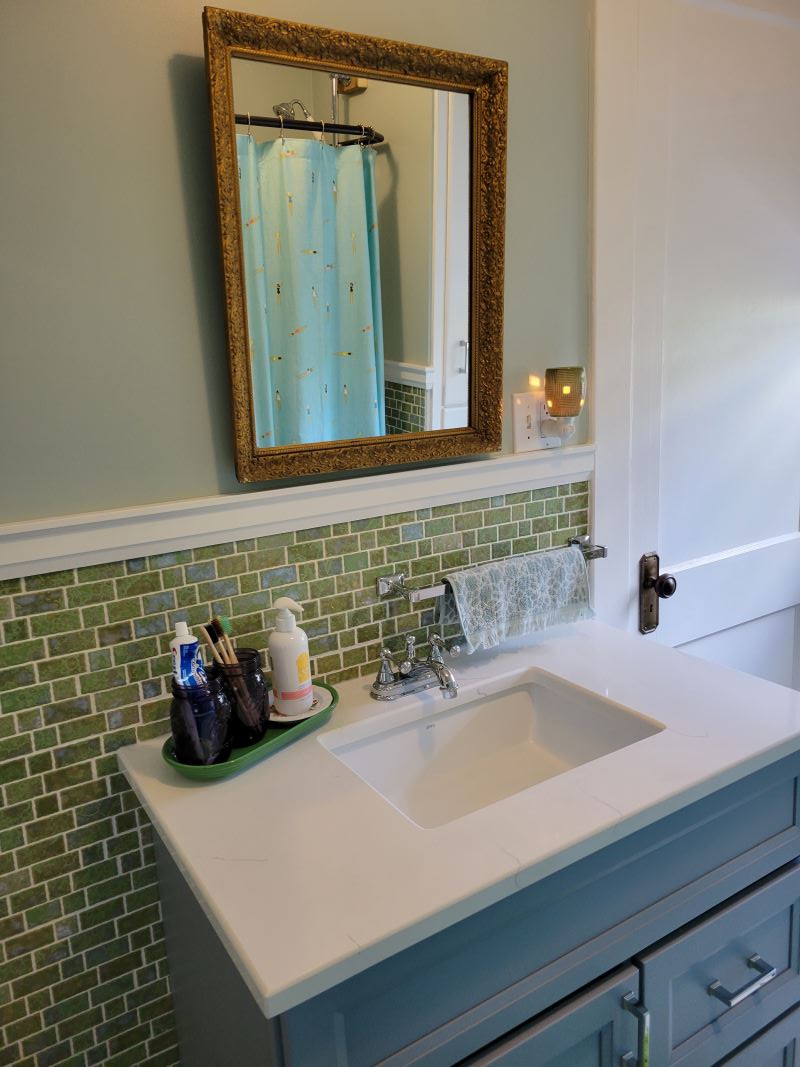
The other big decision I had to make was the vanity. Size wise, I couldn't go bigger than my previous one, even though a nice long double sink vanity would have been amazing. The bathroom in this old house just isn't huge and a single sink vanity was all I could squeeze into it. I chose a vanity from Stonewood Cabinetry and ordered it from Home Hardware. What I loved about the Stonewood Cabinetry vanities was the customization options. I got to choose the overall vanity style, quartz countertop, sink, handles (style and material) and colour based on several options that were found either on display in the store or shown in a catalog. The blue colour called "Dawn" jumped out at me as a colour that would go really nicely with the flower detail on the floor tiles. I knew that I could use blue as a great accent colour. I picked a simple carrara countertop and a modern sink. I didn't put too much thought into the handles other than just picking the ones I liked the best and decided to go with the polished chrome material because it would match my faucets that I already had! I didn't have to purchase a new faucet, but I have this American Standard Fluent faucet set aside in my Amazon cart for when I do need to replace it. I will say that the vanity was my splurge item, but I am very happy with it even if it was on the pricier side.
Disclosure: Some of the links in this blog are affiliate links. This means that, at zero cost to you, I will earn an affiliate commission if you click through the link and finalize a purchase.
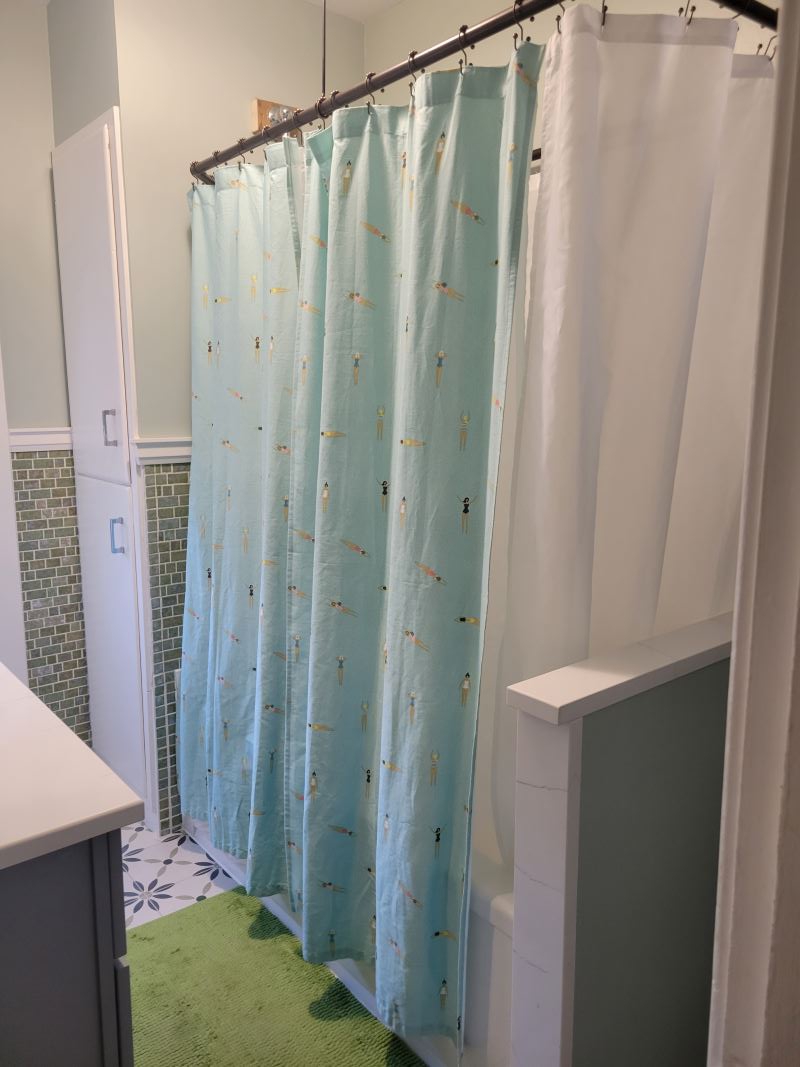
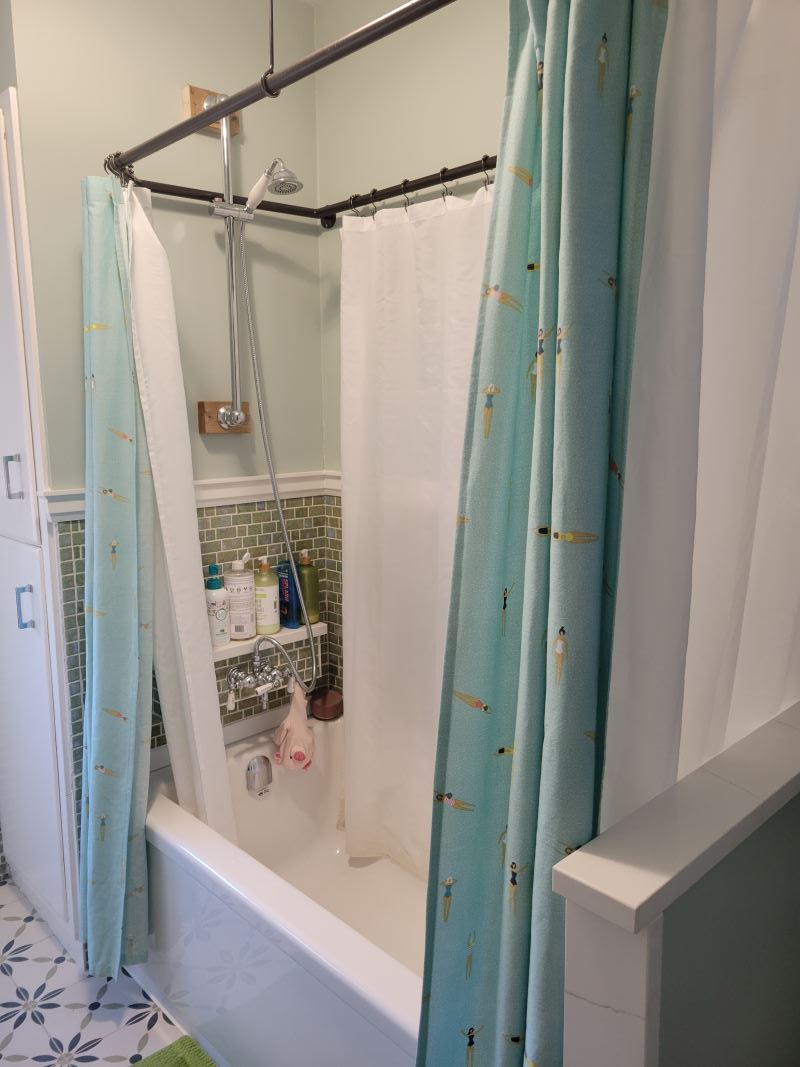
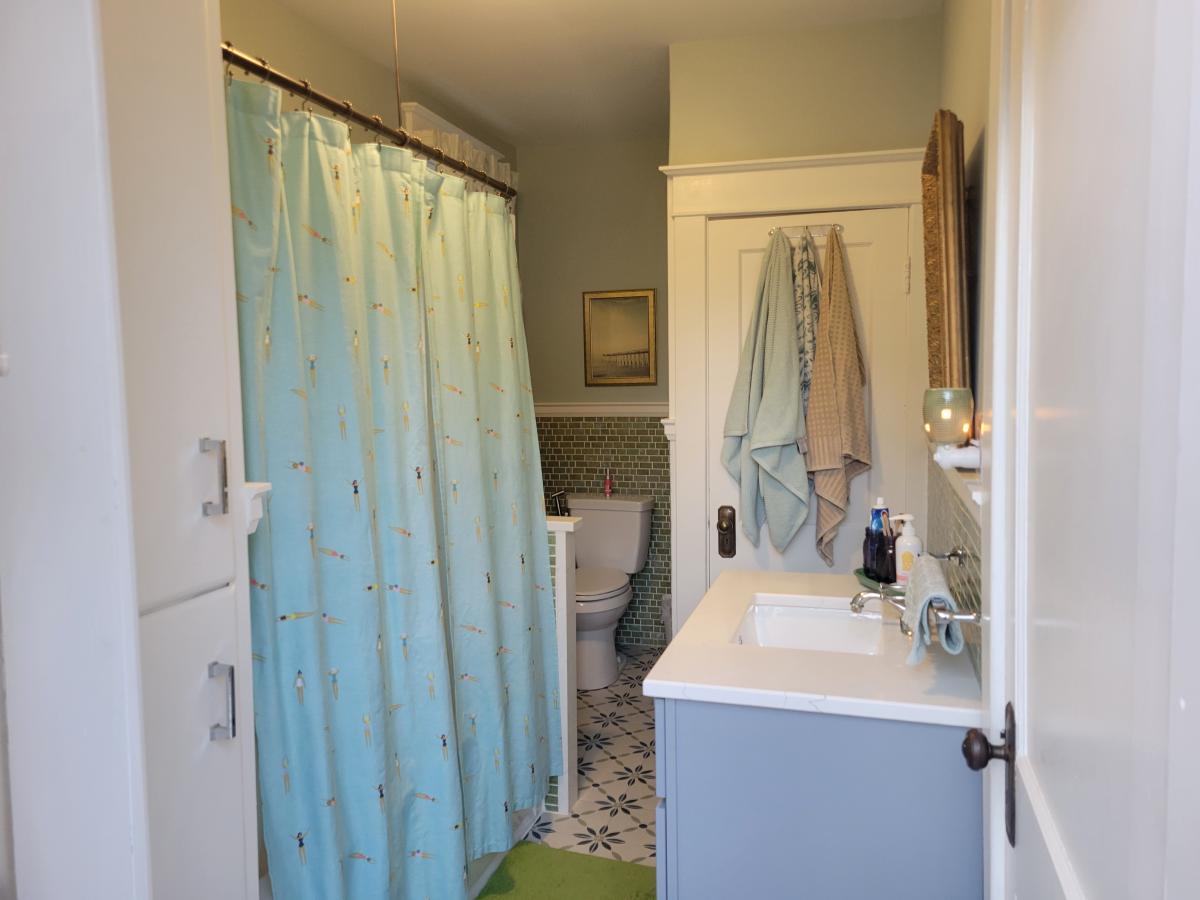
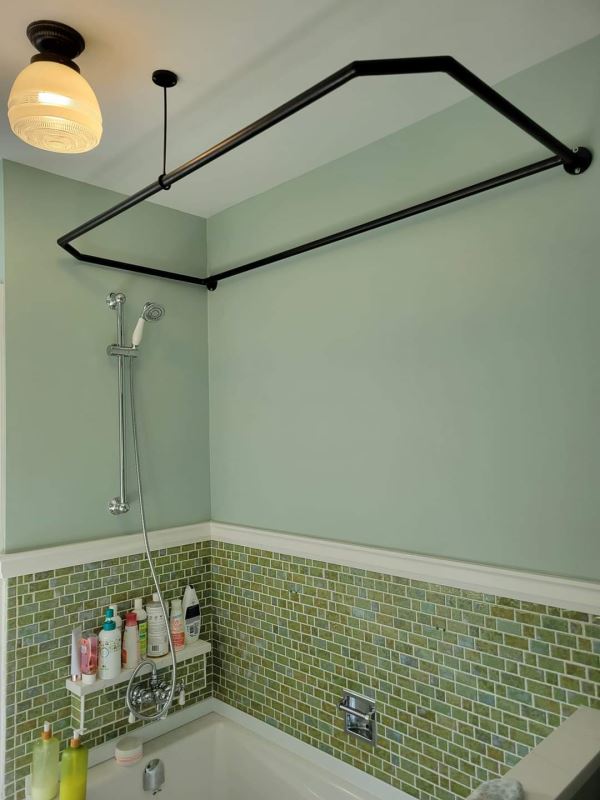
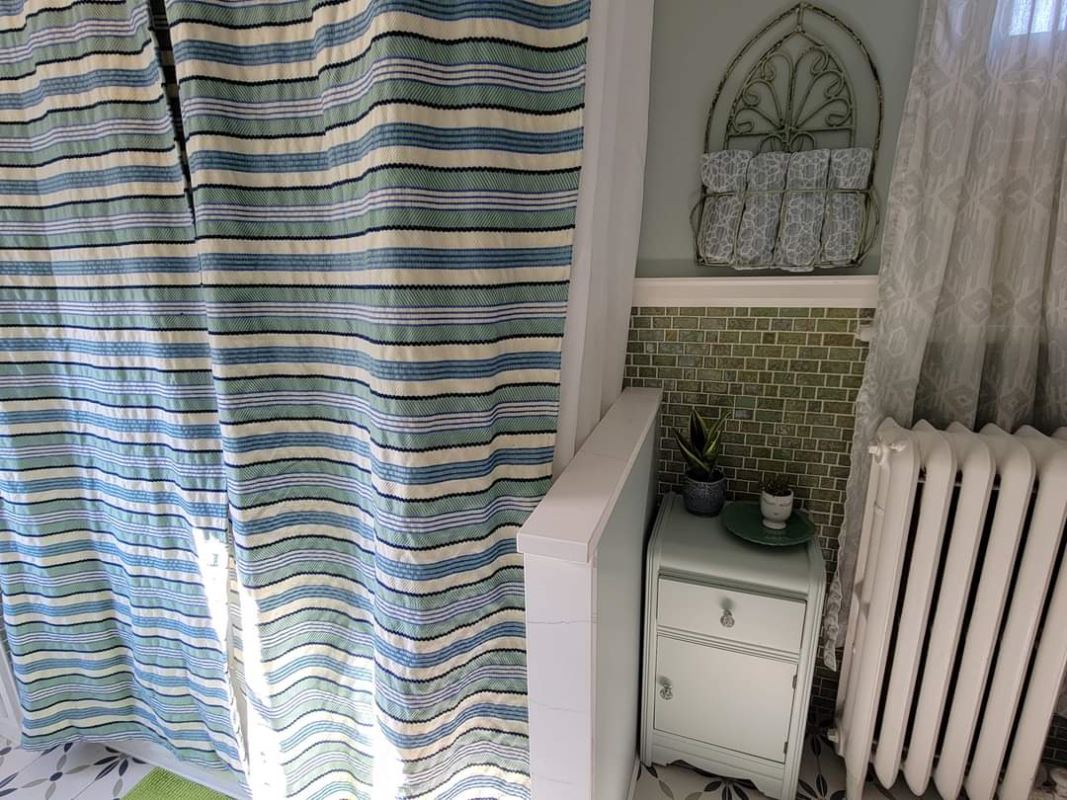
Ok the bathtub. Well...the bathtub was an item that apparently is in fairly short supply these days. I picked out a bathtub and was speechless when I found out that the wait time for that bathtub was going to be something crazy like 37 weeks. At this time of course I didn't know that the renovation was going to take about that long anyway but I had no intention of waiting that long for a simple acrylic tub. I picked a different one (that honestly looked super similar to the original one) and it was going to be delivered in a very reasonable amount of time. Yay! And when the tub did arrive, I was told that unfortunately, there was an accident with it and the forks on the machine went through the box! Oh my gosh, I could not catch a break with this tub. Upon inspection of the inside of the box, the tub was fine. Thank goodness because I didn't want to have to pick a third bathtub. Once it was actually on my property, the tub went in with no additional complications and it looks pretty sweet. The showerhead on the other hand, well, it is currently resting on some 2x4 blocks because my curtain rod makes it impossible for it to be installed flush into the wall. When I say my bathroom is almost complete, this is literally the only thing stopping it from being totally finished because my contractor is sourcing out a better option than a couple of ugly wooden blocks on my wall holding up my fancy showerhead! I found a really cute shower curtain,in my own linen closet of all places and decided to use it because it was a fun retro bathing beauties design and blue! It was simply too cute not to use and I found it at Winner's likely five or six years ago! It was just one curtain though so I had to get it doctored up a bit to become two but hey, it isn't a renovation at my house without having to doctor things up to work! I needed a shower curtain liner and dual sided shower curtain rings so I could hang the curtain and the liner easily. Finally the half wall....a design I found on Pinterest to allow the alcove tub shape and my tile master built it from scratch and used the leftover box of retro wall tiles to match and make it look like it has always been there! Check out the quartz pieces along the top and side...those were the backsplash lips that came with my vanity that I didn't end up using because I don't like those little lips above countertops. But when I ordered the vanity, I made sure they were sending them anyway (they were included in the price afterall!) because I knew I would find some use for them. Another was used for the top of the faucet deck. I loved being able to utilize these quartz pieces because they all match the vanity countertop perfectly. The photo below shows areas of the wall tile that are original and areas that are new. And they blend together seamlessly.
.jpg)
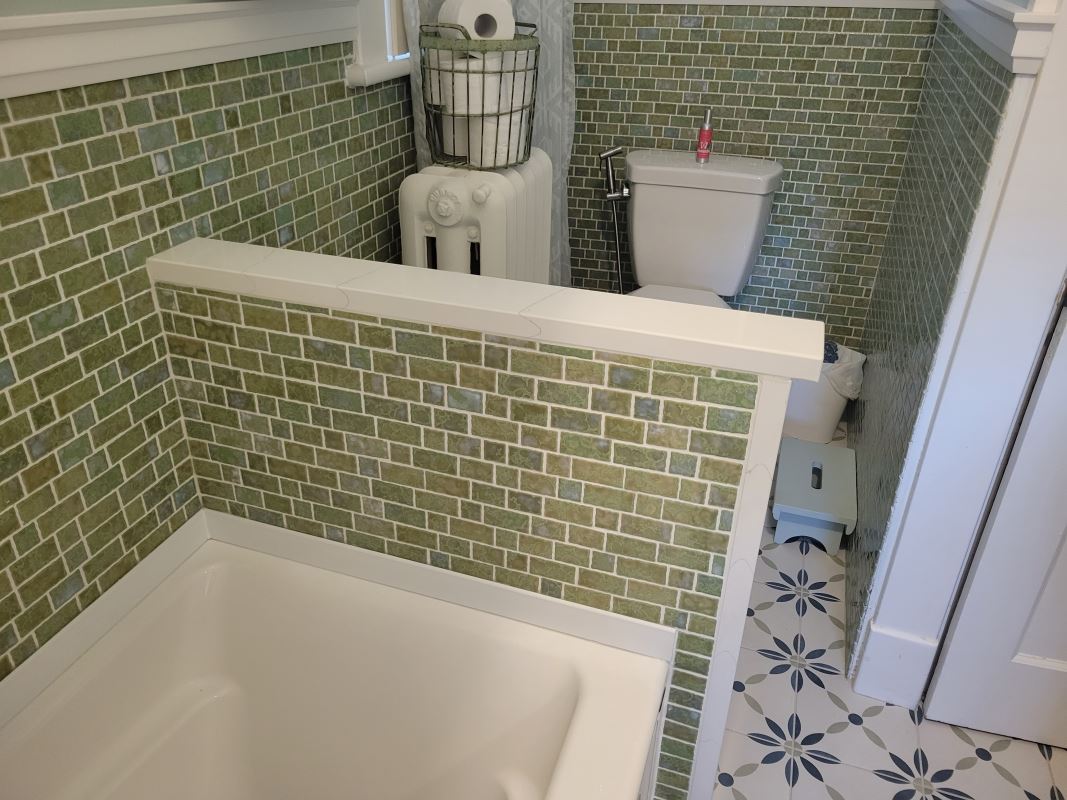
The two sides of the half wall. I would have loved to have enough tile for both sides!
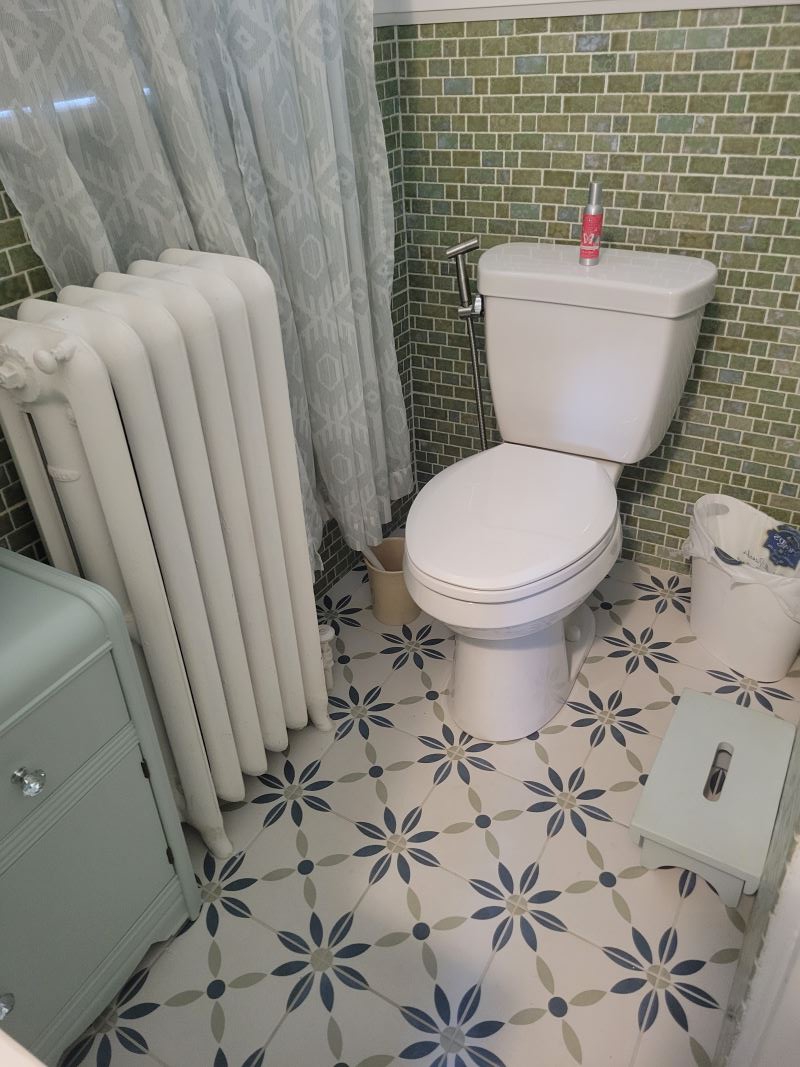
I really liked the style of toilet I put in my basement bathroom, so I ordered the exact same one for this main bath and it was installed with no complications. (Plumbing-JSW Heating & Cooling) I painted the little nightstand that I use for storage and kept the artwork that I had before. This area of the renovation didn't get too much thought, even though the time spent on the toilet of course provides some very valuable thinking time. Haha!
.jpg)
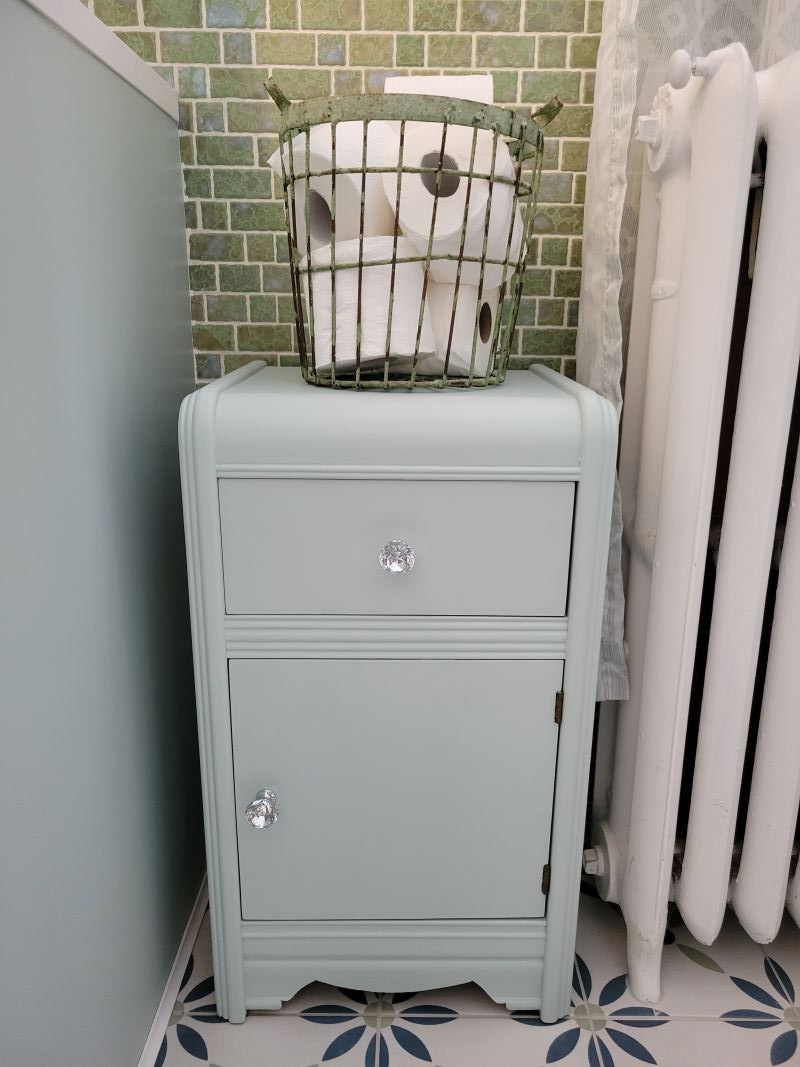
A few finishing details. New towels was a must when I found these beautiful ones at Winner's! And I painted the nightstand the same colour as the walls and swapped out the knobs with some fancy crystal ones.

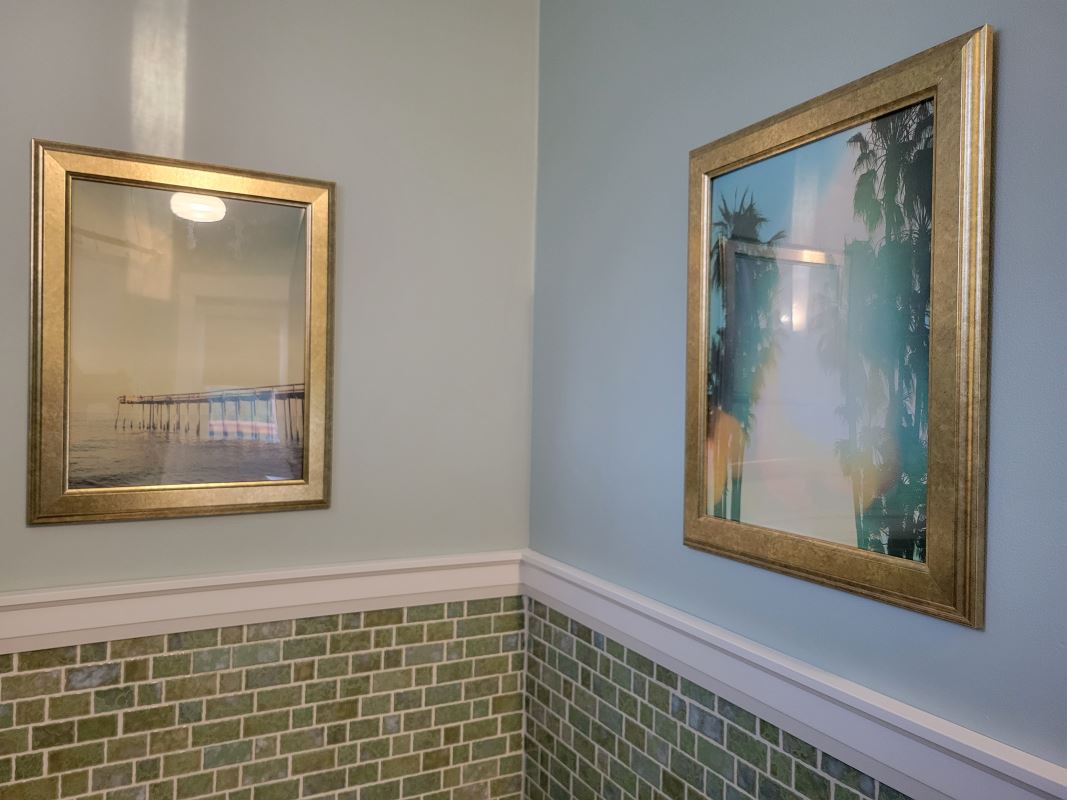
Most recently, our painter (Vasey Does It) came and painted the walls with a beautiful colour, that I really wasn't too sure of when the room was freshly painted. It just didn't come together for me until I started to bring all the stuff back into the bathroom and hang the mirror, artwork, etc. Once it was put back together, I realized that the paint colour works perfectly.
We started in February and we are now into June. This has been a long renovation. The delays were really out of anyone's control though and while it was frustrating, I would like to think I mostly kept my cool throughout the process and only cried a handful of times! What's a renovation in a hundred year old house without a few tears though right?
It's (mostly) over...and the makeover on this bathroom is considered a success! I also stayed within budget, well, a few hundred dollars over budget, but for me, that is most definitely a success!
Update: I had the brainwave to remove the curtain rod from the ceiling, shorten the hanging rod so it hung higher towards the ceiling and this way, we could hang the shower head on the wall where it was meant to hang, without any ugly wooden blocks. This meant a trip to the welding shop and spray painting the curtain rod again and the walls being mudded, sanded and re-painted. It was a decent hold up but needed to be done. This also meant that I needed to get a shower curtain custom made because standard length curtains were not long enough. I found some fabric that I really liked and had a super long shower curtain made to complete this renovation...for real this time.
The greens and blues have served me well for this bathroom. I absolutely love this space.

Brooke

Writing an "About Me" is not easy. How do I pick and choose the pieces of my life that molded me into the person I am or deem the milestones and memories as important enough to tell you about in this little "About Me"...Well, I often joke that I have Read more about me...